Technique
Bench Press Form: Setup, Descent, Pause, and Lockout
Build repeatable bench press form, understand current IPF commands, film useful angles, and correct the first phase that changes.
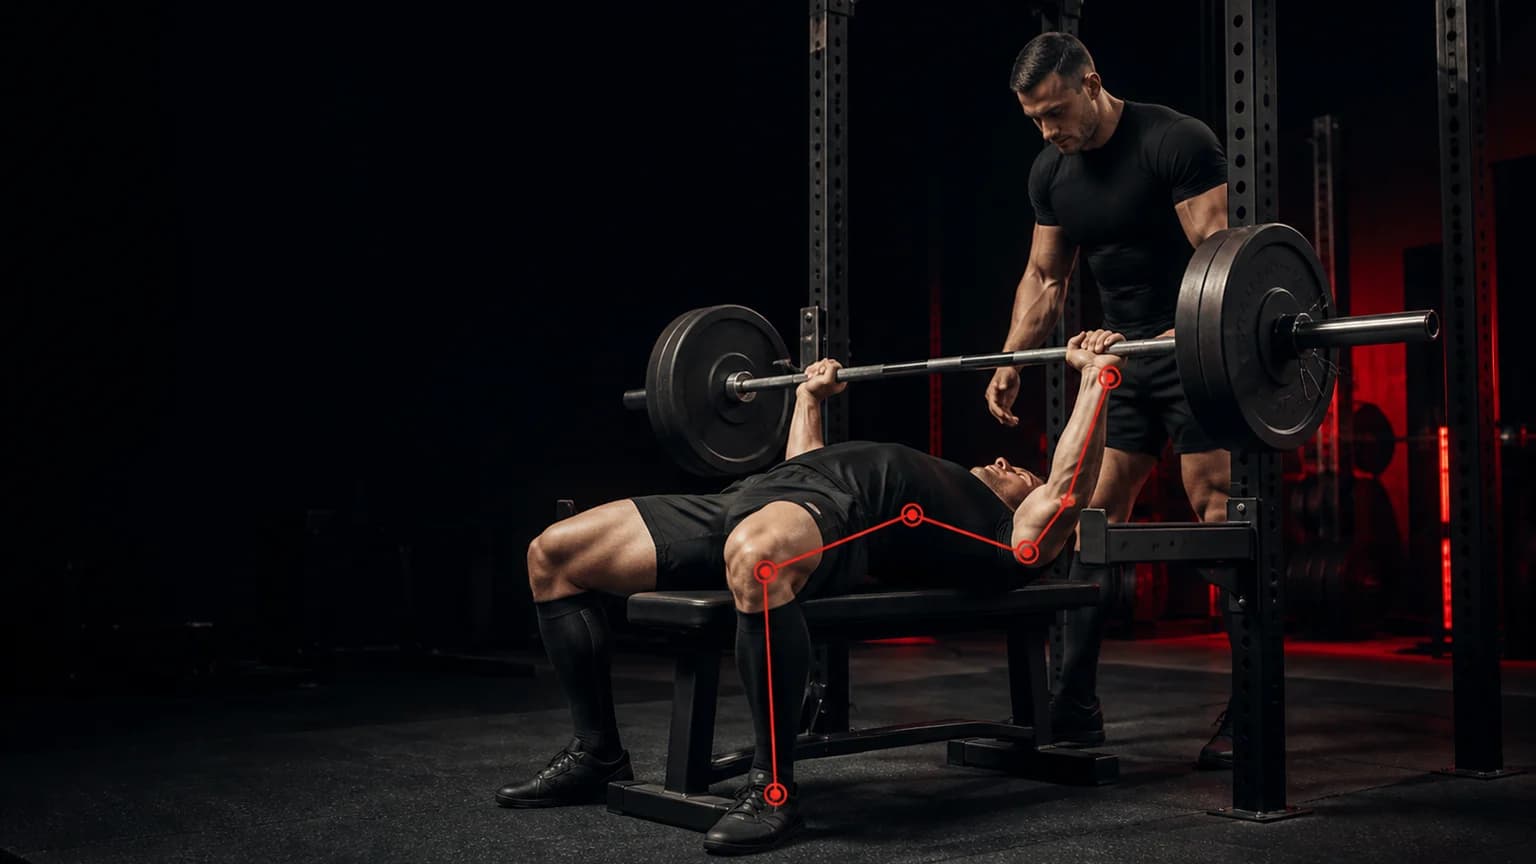
Repeatable bench press form connects your setup, hand position, unrack, descent, competition pause, press, and rack command. For an IPF-style lift, you must keep the required contact points, lower the bar to the chest or abdominal area, hold it motionless for the referee's “Press” command, reach locked elbows, and wait for the “Rack” command. Your federation may use different rules, so verify the current rulebook for your meet.
Train with safety arms or competent spotters. Use a load you can control and ask a qualified coach to adapt the setup to your mobility, equipment, and rules.
Know the sequence before you add weight
| Phase | Your task | Competition checkpoint |
|---|---|---|
| Setup | Establish contact, grip, and body position | Head, shoulders, and buttocks meet the bench as required; feet meet the platform rule |
| Handoff or unrack | Move the bar over the start position | Elbows lock and the bar becomes motionless |
| Start | Wait for the referee | Receive the audible “Start” command |
| Descent | Lower under control | Bar reaches the chest or abdominal area |
| Pause | Hold motionless | Receive the audible “Press” command |
| Press | Raise the bar evenly enough to complete the lift | Elbows lock at completion |
| Rack | Hold the finish | Receive the audible “Rack” command and return the bar |
The IPF Technical Rules remain the controlling source for IPF competition. The federation updated its rulebook in 2026, so do not rely on an old social post or meet recap.
Build five stable contact points
Place your head, upper back and shoulders, buttocks, and both feet according to the applicable rules. The exact arch and foot position vary among lifters, but you need a stable position you can reproduce without pain.
Set the rack height so you can clear the hooks without losing your shoulder or upper-back position. Ask for a handoff when it helps you preserve the setup. Agree on the handoff count and release before the attempt.
Choose and record the grip
Use a legal grip width for your federation and mark it against the bar rings. Wrap the thumbs unless a qualified coach and ruleset direct otherwise. Stack the wrist in a position that lets you control the bar without excessive discomfort.
Record grip width, bar, bench, rack height, and whether you used a handoff. A setup change can alter the bar path even when your cue stays the same.
Unrack into the start position
Move the bar out of the hooks with locked elbows and bring it to a stable position above the shoulder line that fits your build. Do not rush directly into the descent. In competition, wait until the referee gives the start command.
If the bar drifts before the command, review the rack height, handoff path, upper-back position, and load.
Lower to a repeatable touch point
Guide the bar toward the chest or abdominal area while keeping the forearms and wrists organized. The exact touch point depends on grip, arch, limb lengths, and federation rules. Do not copy another lifter's point without testing it.
Keep the descent controlled enough to reach the same position without sinking, bouncing, or losing contact. A longer pause in training can build command discipline, but use loads that let you maintain the chosen standard.
Press after the pause
Drive the bar from the motionless position while maintaining the required body contact. The bar may not follow a perfectly vertical line. Many lifters move it slightly back toward the shoulders as it rises.
Do not lift the buttocks, lose a required foot position, sink the bar after the command, or finish with unlocked elbows. Hold the completed position until the rack command.
Film from two angles
Use a side-oblique view near bench height to see the touch point, bar path, body contact, elbow lockout, and commands. Use a foot-end or head-end view only when your gym permits it and the camera remains clear of spotters, loaders, and the rack.
Do not place a phone where a plate, spotter, or lifter can hit it. Record the setup and rack, not only the repetition.
Correct the earliest change
| What you see | Check first |
|---|---|
| Upper back shifts during unrack | Rack height, handoff path, and setup tension |
| Touch point moves each rep | Grip mark, start position, and descent tempo |
| Bar sinks during the pause | Load and controlled touch practice |
| Buttocks lift | Foot pressure, setup, and load |
| One side locks later | Grip symmetry, setup, camera angle, and appropriate load |
| Bar moves before commands | Command practice with a partner |
Use the bench bar-path guide and leg-drive guide to isolate those components. This article owns the complete lift sequence.
Stop for pain, numbness, sudden weakness, dizziness, or loss of control. Video feedback cannot diagnose a medical problem or replace in-person spotting and coaching.