Technique
Bench Press Bar Path: Find and Fix Your Pressing Groove on Video
Film your bench press from a useful side angle, compare touch point and lockout path, and test one bar-path change while preserving a safe setup.
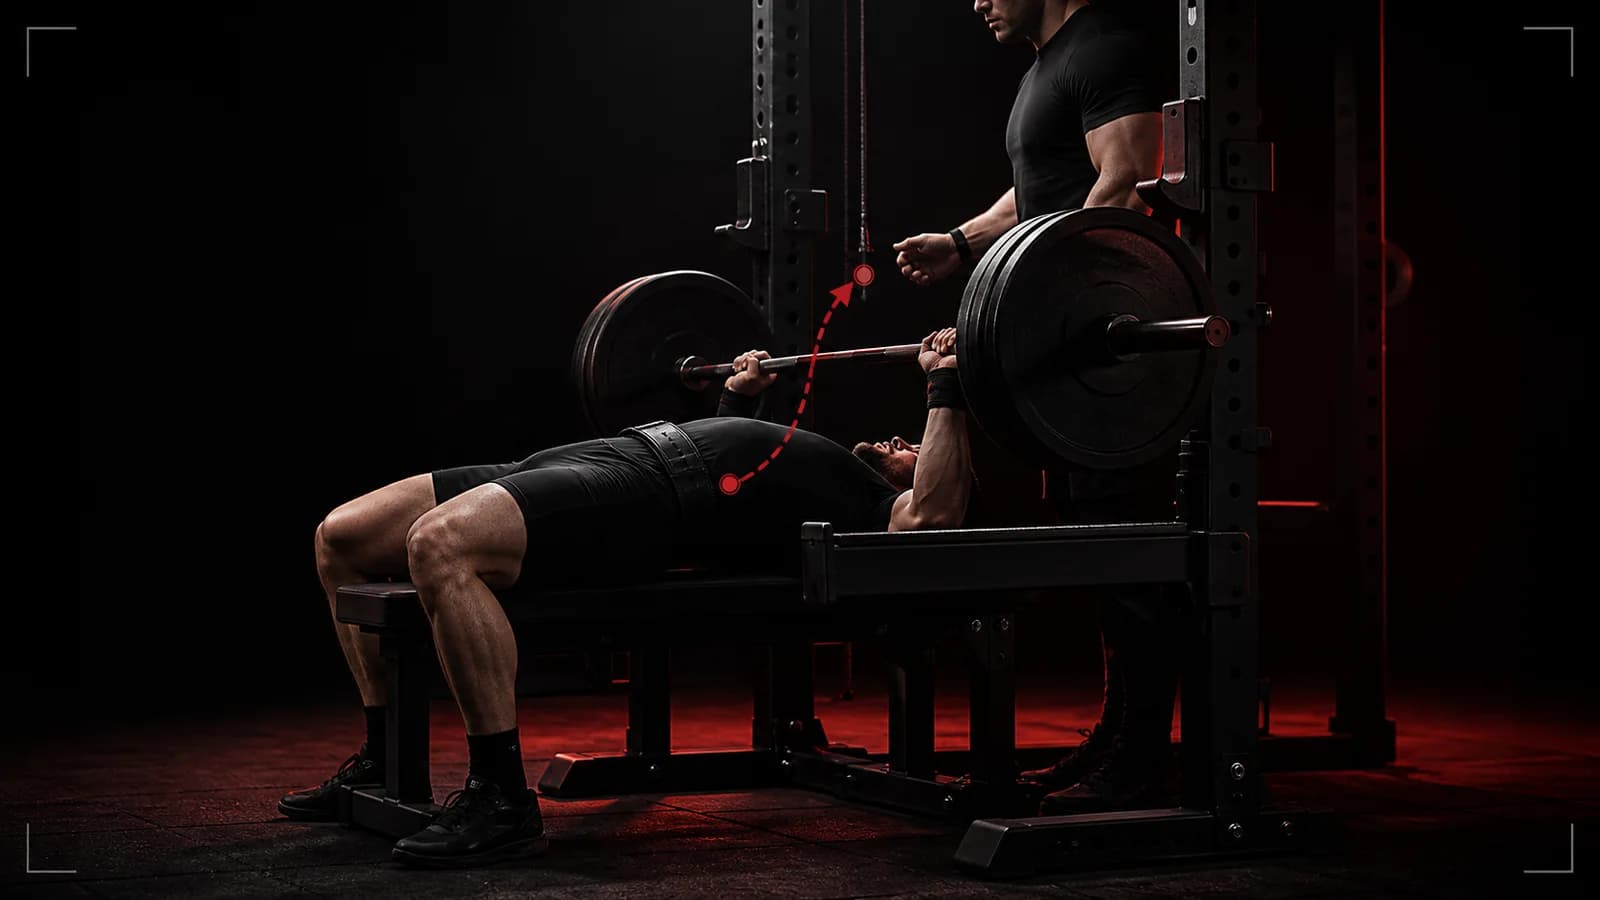
Your bench-press bar path should connect a repeatable touch point on the chest or abdominal area with a stable lockout over the shoulder region while your setup and competition requirements remain intact. Many lifters show a diagonal or J-shaped press rather than moving the bar in a perfectly vertical line.
Use safeties set for your body and bench, collars where appropriate, and a competent spotter. Learn the lift with a qualified coach. Stop if you feel pain or symptoms that concern you.
Start with the rules you must preserve
The 2026 IPF Technical Rulebook requires the head, shoulders and buttocks to remain in contact with the bench, feet to stay flat as the shoe shape allows, and the bar to become motionless on the chest or abdominal area before the press command. It also defines the required elbow depth and locked finish.
If you compete under another federation, check its current rulebook. A bar-path cue does not outrank your commands, contact points or allowed setup.
Film a comparable set
Place the phone outside the rack and lifting area at roughly bench height. Use a direct or slightly front-oblique side view that keeps the plates, shoulder, touch point and lockout visible. Do not stand the phone where a plate, spotter or failed rep can hit it.
Record the load, rep number, grip and pause condition. Compare technically similar repetitions, not a warm-up touch-and-go rep with a fatigued competition pause.
Mark four checkpoints
- Start: where the bar sits over the shoulder after the handoff or unrack.
- Descent: whether the bar moves toward a consistent lower touch point.
- Reversal: whether the bar leaves the chest without sliding or losing position.
- Lockout: whether the bar returns toward the shoulder line with both elbows controlled.
A useful path is repeatable and compatible with your body and rules. Do not copy an exact curve from another lifter.
Diagnose the path, not one frame
| What you see | Review first |
|---|---|
| Touch point changes each rep | Setup, descent speed and upper-back position |
| Bar drifts toward the feet off the chest | Press direction and loss of upper-back tension |
| Bar moves toward the rack too early | Whether the elbows or shoulder position change before the bar clears the sticking region |
| One side rises first | Grip, handoff, setup and load; do not diagnose injury from video |
| Lockout finishes far from the start | Compare shoulder and elbow position across the whole rep |
Change one cue and repeat at a suitable load. A new grip, touch point, arch and tempo in the same set makes the result impossible to interpret.
Use cues that describe an action
Try one cue that matches the visible error:
- “Touch the same point.”
- “Press back after the pause.”
- “Keep the upper back fixed as the bar leaves the chest.”
- “Finish over the shoulder.”
Discard a cue when it creates a new problem or does not change the path. The cue is a test, not a law.
Review the path in Powerlifting AI: Gym Coach
Open Powerlifting AI: Gym Coach with a side-view set and compare touch point, reversal and lockout across repetitions. Coach Pavel's video feedback can keep the visible path beside the load and training note so you can test one adjustment next time.
The app cannot capture rule commands outside the frame, evaluate spotter quality or explain the cause of every asymmetry. Confirm material changes with your coach and use current federation rules for competition decisions.
Your next bench session
Record one warm-up set and one technically comparable work set from the same angle. Draw or imagine the path through the four checkpoints. Choose one cue, test it with an appropriate load and keep it only when the whole rep becomes more repeatable.