
Technique
How to Analyze Powerlifting Form From Video: A Three-Lift Checklist
Film and review your squat, bench press and deadlift with consistent angles, visible checkpoints and one useful cue at a time.
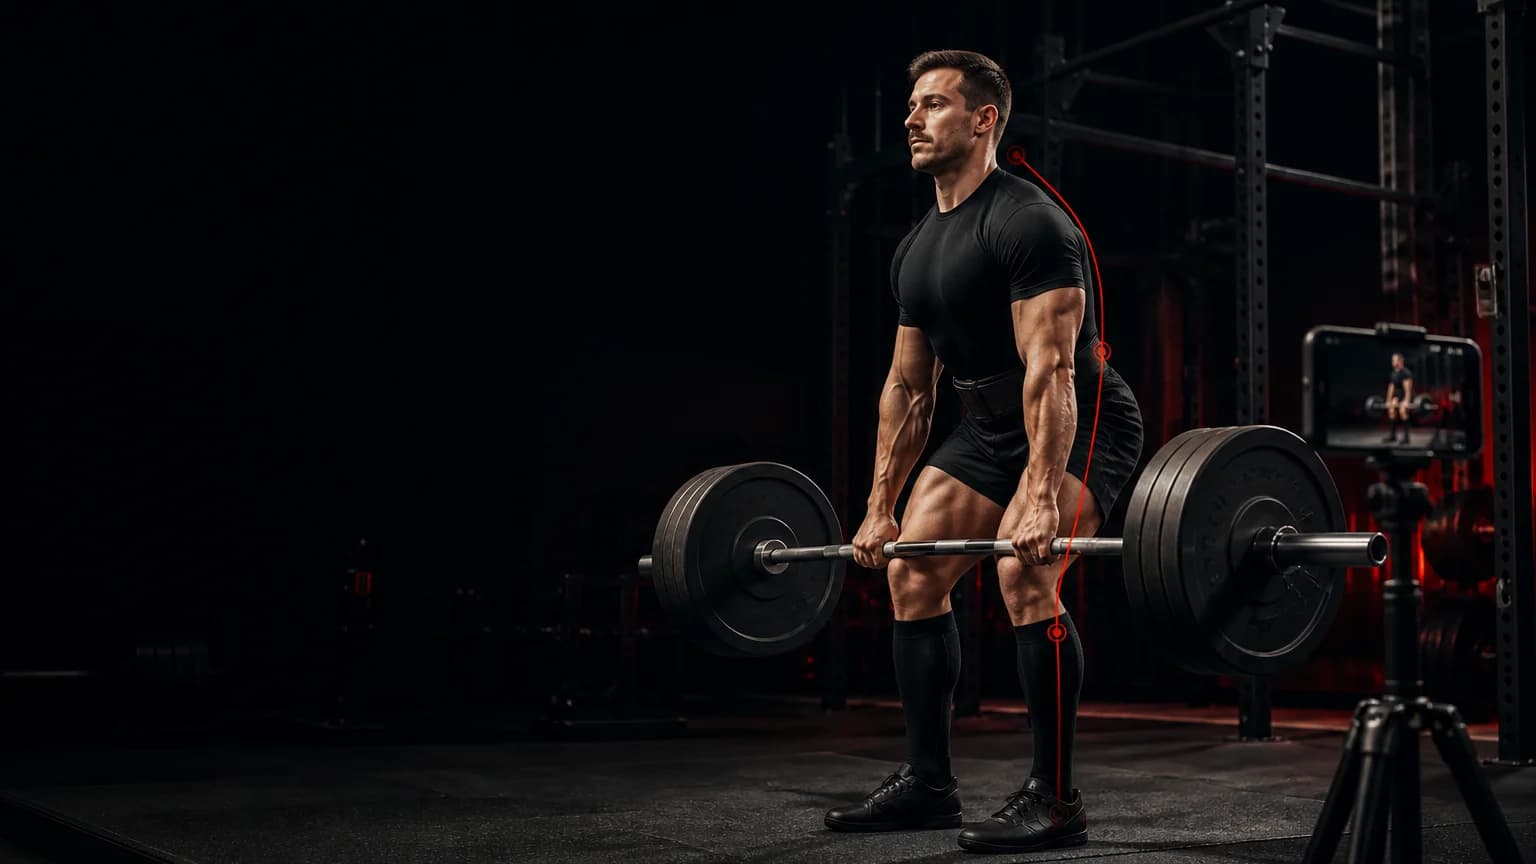
Answer first: film one repeatable working set from a stable side or rear-quarter angle, keep your whole body and both bar ends in frame, and review the lift phase by phase. Check the setup, bar path, competition standard and the first point where your position changes. Compare like with like, then choose one cue to test on the next set. A video can show visible movement; it cannot diagnose pain, predict injury or guarantee that a referee will pass a lift.
Build a clip you can actually compare
Place your phone on a tripod or another fixed support. Do not ask a training partner to follow the bar by hand, because camera movement makes the bar path and body angles harder to judge. Film in normal speed at the highest practical frame rate, with enough light to see the plates, joints and contact points. Keep the camera at roughly hip height and far enough away to include your feet, head, plates and rack.
Use the same angle when you compare sessions. For a side view, position the camera close to perpendicular to the bar. A rear-quarter view can show knee tracking and lateral balance, but it distorts depth and horizontal bar travel. If you need both questions answered, record two sets instead of treating one angle as complete evidence.
Record the load, repetitions and your rating of perceived exertion, or RPE, before you watch the clip. That prevents hindsight from turning every slow rep into a maximal effort. Compare a working set with another set from the same lift, similar load and similar fatigue. A warm-up and a third attempt answer different questions.
Review the lift in four passes
First, watch the complete repetition at normal speed. Ask whether the movement looks deliberate and repeatable. Second, watch the bar: does it stay balanced over your base, or does it move around an obstacle? Third, watch the lifter: where does the first visible position change occur? Fourth, check the competition standard that matters for that lift.
Pause only at useful moments. Freeze the start, the lowest or paused position, the sticking region and the lockout. Do not draw conclusions from one blurry frame. Use the frames before and after it to see direction and timing. If the same change appears across two or three comparable reps, it deserves more attention than a single unusual repetition.
Squat video checklist
Use a true side view when depth is the main question. The current IPF technical rules define the squat standard for IPF competition; check your own federation’s rulebook if you lift elsewhere. A camera placed too high, too low or far behind the hip can make the same squat look deeper or higher than it was.
Review these points in order:
- Unrack and walkout: Do you settle the bar before you descend, with a stance you can reproduce?
- Descent: Does the bar remain controlled over your base while your knees and hips move together?
- Bottom position: Can the chosen angle show the required depth clearly, with some margin rather than a borderline frame?
- Ascent: Which moves first: the bar, chest or hips? Does the bar drift as the rep slows?
- Finish: Do you regain a stable upright position before reracking?
If depth is uncertain, fix the camera before you change your squat. The detailed squat-depth guide explains how to separate a camera problem from a repeatable depth problem.
Bench press video checklist
Film from the side and slightly toward the foot end, while keeping the rack, bar, torso and feet visible. Do not place equipment where it distracts the spotter or blocks the handoff.
Check whether you set your shoulders and feet before the handoff, bring the bar to a repeatable touch point, control the pause required by your rules, and press to an even lockout. Follow the bar from the start position to the chest and back. A useful bar path often includes some movement back toward the rack during the press; the question is whether you control it, not whether the trace is perfectly vertical.
Watch for visible changes that begin before the bar stalls: a shifting foot, a changing touch point, one elbow finishing later, or your upper back losing its set position. Describe what you see without turning it into a diagnosis. “My right side finished later on reps four and five” gives you something testable. “My shoulder is unstable” claims more than the clip can prove.
Deadlift video checklist
A side or front-quarter angle should show the plates, bar, hips, shoulders, knees and lockout. Keep the phone outside the lifting area. Review the setup before the plates leave the floor: bar position, grip, brace and the relationship between hips and shoulders.
Then follow the bar from floor to lockout. Does it travel close to you? Do the hips and shoulders rise together at the start, or does the back angle change immediately? Does the bar slow because it moves away from your base, because the knees remain in its path, or simply because the load is hard? At the top, check the visible competition requirements in your federation’s rules rather than inventing an extra lean-back.
If you plan to use the clip to guide meet choices, connect it to your attempt-selection process and your meet peak. A clean gym video adds evidence; it does not replace commands, warm-up timing or how you perform on the day.
Turn observations into one cue
Write one neutral observation, one likely cause to test and one cue. For example: “The bar moved forward as I left the bottom. I may have lost upper-back tension. On the next set, I will keep the bar pinned and drive straight up.” Treat the cause as a hypothesis until another comparable clip supports it.
Change one thing at a time. If you alter stance, shoes, tempo, load and cue together, the next video cannot tell you which change mattered. Use a load you can control, repeat the camera position and keep the same review checklist. When pain, numbness, dizziness or a sudden loss of function appears, stop using video as a troubleshooting tool and speak with a qualified health professional.
Keep the review honest
Video works best as a repeatable observation tool. It can help you notice timing, position and consistency, but the camera angle can mislead you and a single repetition can be an outlier. A coach who knows your training history can add context. A referee decides competition validity. A clinician assesses pain or injury.
Keep your review short: one lift, one angle, one visible issue and one next action. Over several sessions, that disciplined record becomes more useful than a folder of unlabeled clips.
Sources
Your next action: set your phone at hip height, record one working set, and write one observation before you choose a cue.